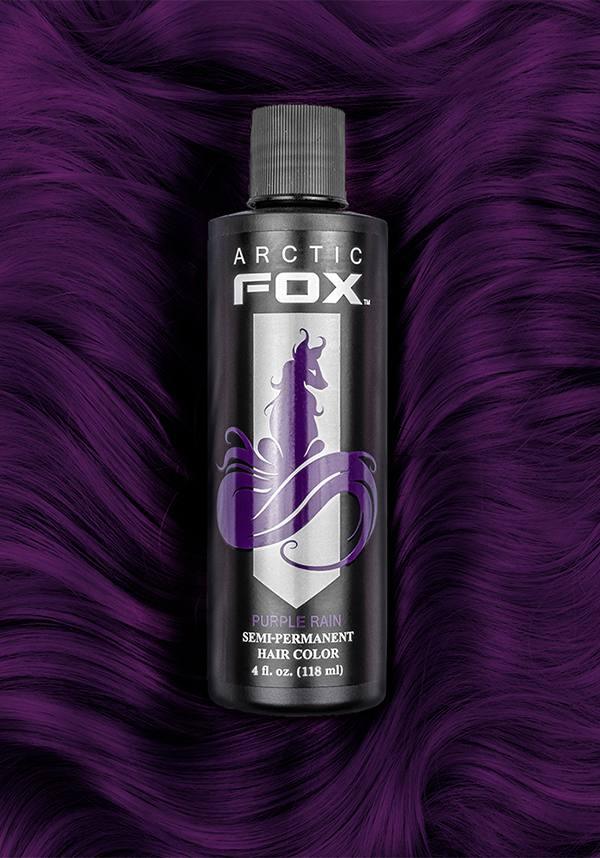
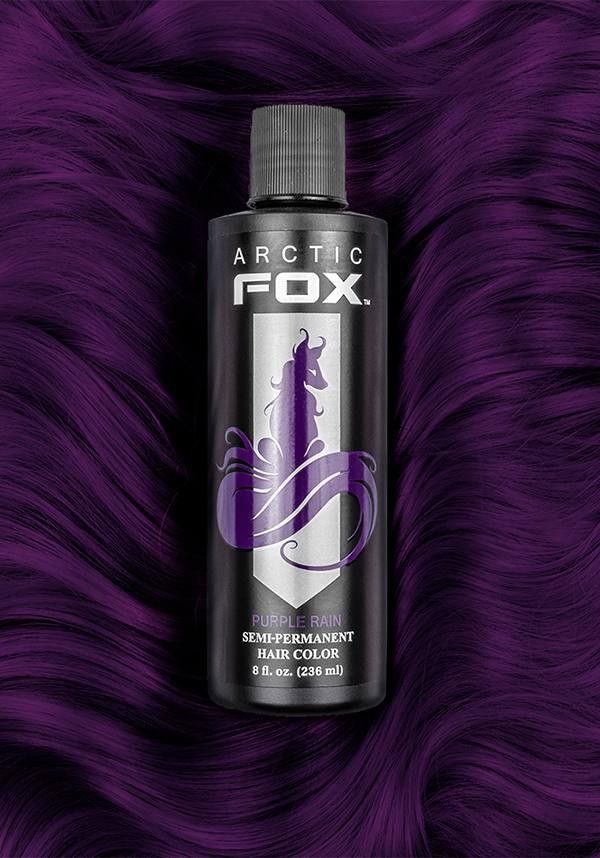
Purple AF | HAIR COLOUR [236ml]
$27.95
Beserk | Gift Voucher
$25.00
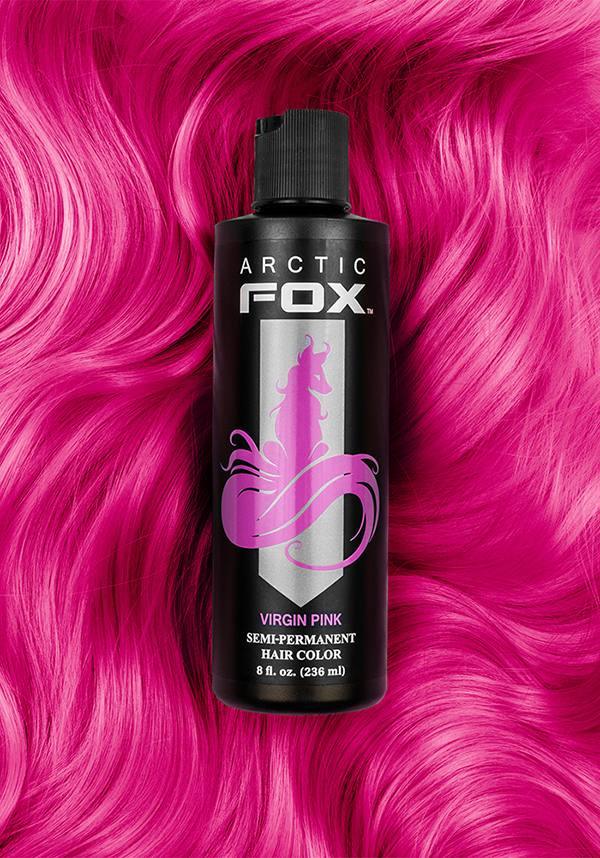
Virgin Pink | HAIR COLOUR [236ml]
$27.95
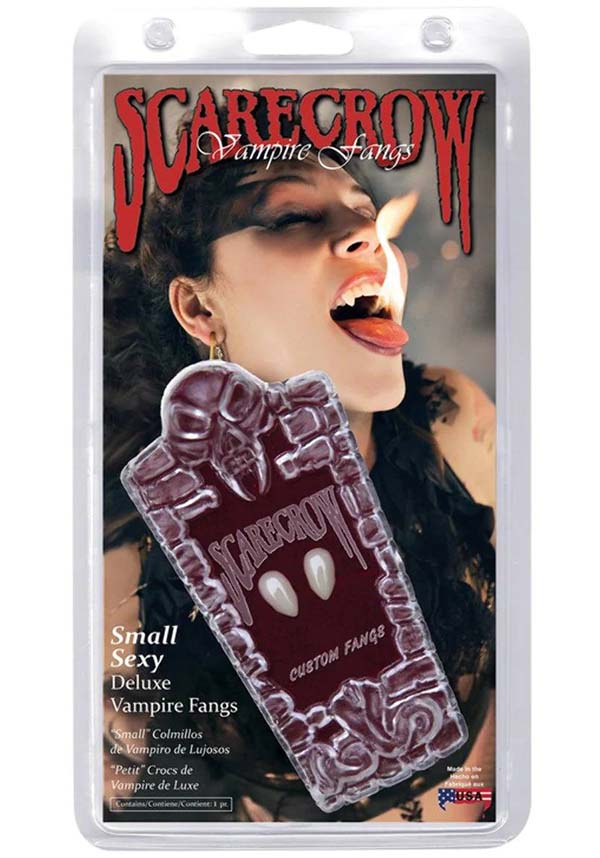
Original Deluxe [SMALL] | CUSTOM FANGS
$39.95
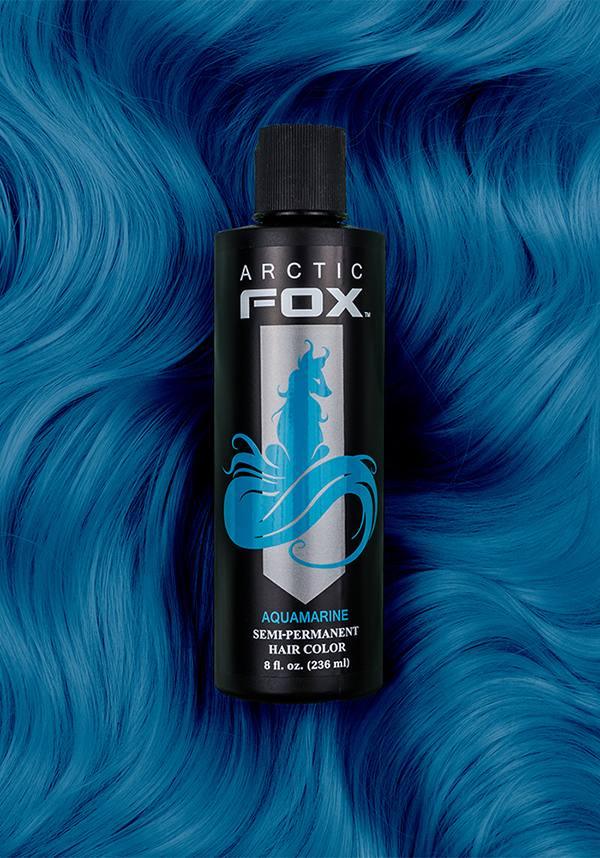
Aquamarine | HAIR COLOUR [236ml]
$27.95
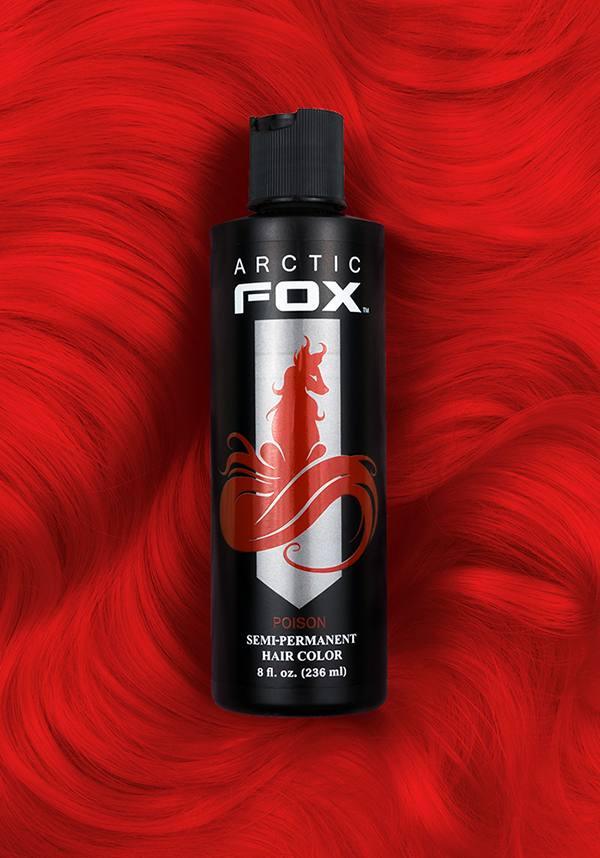
Poison | HAIR COLOUR [236ml]
$27.95
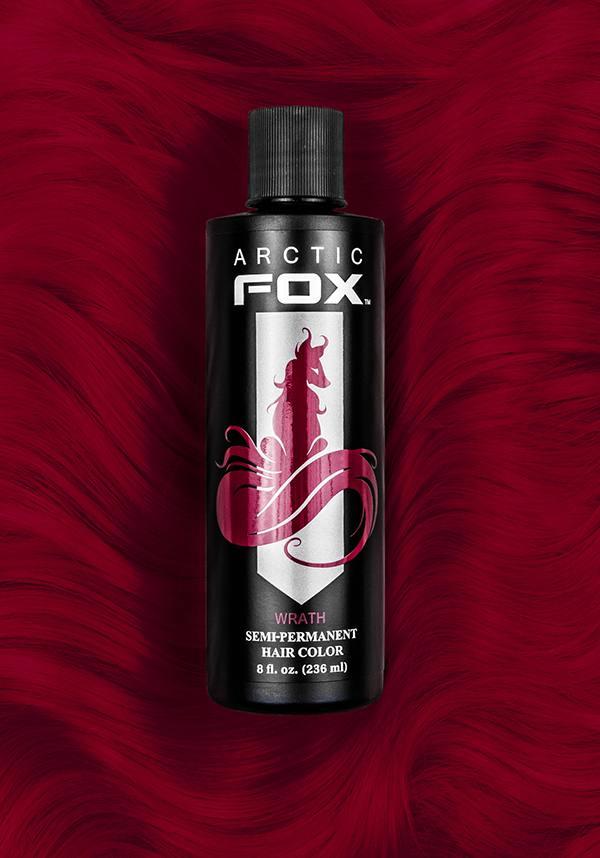
Wrath | HAIR COLOUR [236ml]
$27.95
Purple AF | HAIR COLOUR [118ml]
$18.95
Hot Hot Pink | AMPLIFIED COLOUR
$25.95
Hot Hot Pink | CLASSIC COLOUR
$22.95
Delivery
Cart Subtotal
Availability:
With its lustrous vibrancy and deep magenta tones, it’s easy to see why so many people fall in love with Rose Red.
Soft, silky hair never goes out of style. That’s why all Directions colours contain a conditioning formula that nourishes hair from first application.
All Directions colours can be mixed with each other to create your own unique shade!
100% Vegan & Cruelty-Free!
Weight: 100ml
Please Note: For vibrant results the colour should be used on bleached or pre lightened hair, or can be used on untreated hair to achieve a subtle tint.
Instructions:
- Always carry out a patch test on your skin first
- Wash your hair and towel dry
- Apply dye to your hair, spreading evenly with a tint brush or comb
- Allow to develop for around 20 - 45 mins
- Rinse out dye until the water starts to run clear
Ingredients:Aqua (Pure), Cetearyl Alcohol, Distearoylethyl Hydroxyethylmonium Methosulfate (and) Cetearyl Alcohol, Ceteareth-20, Citric Acid, Propylene Glycol, Methylparaben, Formic Acid, Basic Violet 16, Basic Violet 2, Basic Red 51.
DIRECTIONS
Shop all Directions
Directions hair dyes are a brand of semi-permanent hair colour that are known for their bright and bold shades. They differ from other hair colouring products and Brands in several ways:
Semi-permanent: Directions hair dyes are semi-permanent, which means that they will gradually fade over time, rather than washing out in a single wash. This makes them a good choice for those who want to experiment with bright colours without committing to a long-term colour change!
No Nasties (Ammonia and Peroxide)!: Directions hair dyes do not contain any Ammonia or Peroxide, which are common chemicals found in Hair dyes. This makes Directions a gentler option for those who want to avoid harsh chemicals and hair damage!
Vegan and Cruelty-free: Directions hair dyes are Vegan and Cruelty-free, which means that they do not contain any animal products and aren’t tested on animals! This makes them a great choice for our Vegan friends and fellow Animal lovers!
Wide range of colours: Directions hair dyes come in a wide range of bright and bold colours, including neon shades, pastels, and metallics. This allows for a lot of creativity and experimentation when it comes to hair colour!
Overall, Directions hair dyes are a great choice for those who want to experiment with bold and bright hair colours without committing to a long-term change, and who are looking for a gentler, more ethical option when it comes to hair colouring products!
What you need to colour like a pro
-Your chosen tub of hair colour
-Mixing bowl
-Tint brush
-Mirror(s)
-Hairdresser's cape, towels or newspaper - basically anything that will prevent hair colour getting on your clothes, mats or carpet!
-Latex gloves
-Vaseline or petroleum jelly
-pH balanced, colour-friendly shampoo and conditioner
-Hair clips or bands to separate your hair
-Disposable shower cap
-Clock, stopwatch or phone - anything that can keep the time for you!
TOP TIP - If you’re making a major colour change (e.g. from black to platinum blonde), this is often best-placed to be done by a professional colourist, who knows inside-out how to go from one tone to another and minimise any damage done to your hair.
Step 1. Wash your hair
Make sure to wash your hair with a pH balanced Pre Colour Shampoo prior to colouring your hair to leave it in the best condition to take on your colour of choice. Simply then leave towel dried, so that it is still damp.
Please note: Make sure to avoid using conditioner before application – conditioner eliminates natural oils that help the colour bind to your hair more easily.
Step 2. Protect yourself and your stuff
Now it’s time to keep you, your clothes, your carpets and your belongings covered as best you can. While our colour’s long-lasting nature is great for your hair, it’s not so great when you’re trying to scrub it off the floor!
Wear a set of old clothes to be safe, and then cover yourself with a hairdresser’s cape, towel or bathrobe. Lay down some old towels, newspaper or similar on the floor as well to catch any spillages. Put on a set of disposable gloves to make sure the colour can’t stain your fingers.
Step 3. Follow the instructions!
We know you can't wait to get colouring, but always read the instructions that come with your chosen hair colour — even if you’ve used Directions before.
Step 4 . Do a strand test
By applying the hair colour initially to a small section of easily hideable hair, you can confirm that the colour comes out as you expected, or if you need to apply it for a longer or shorter period of time to get the colour you crave.
To find out how to avoid a hair-raising mishap, check out our guide to the perfect strand test below.
Step 5. Separate your hair
To help make sure you don’t have to reach for the scissors or make an emergency salon appointment, separate your damp hair into at least four sections using hair clips or bands. This exposes all your hair to the colour, giving you complete coverage.
There are few things more infuriating than revealing your freshly-coloured hairstyle and seeing a patch of untouched hair staring back at you in the mirror.
Step 6. Apply the colour
Use a tint brush to comb the colour into the various sections of hair, applying it to ¼ – ½ inch at a time for total coverage.
Start at the roots, as this is where your hair will grow back from and the area that needs the most processing time. From there use your brush to spread the colour across your hair, making sure that no solitary strand is missed.
Use your brush rather than straight from the tub to ensure an even coverage.
Step 7. Let the colour do its thing
Time to play the waiting game. Your strand test will give you an idea of how long it takes for your colour to develop, Directions hair colour usually takes between 15 and 30 minutes.
Step 8. Rinse thoroughly
Use warm water to rinse the colour out of your hair. It’s important to rinse away from your face and body, rather than just hop into the shower – rainbow skin is not a popular trend.
Step 9. Dry and style
Style it as you wish to really make the colour pop how you want it to, however please note that using heat on your hair will affect the longevity of Directions.
Step 10 . Voila, you’re ready to glow!
Congrats on your fabulous colour job – we knew you had it in you!
TOP TIP - Depending on the tone of your natural hair colour, this might restrict how effectively certain colours come through once they are applied. It might be worth looking into our hair lightening products before you start to give your new colour the perfect platform to shine.
What is the point of a strand test?
A strand test is when you test out your hair colour on a small section of your hair before you commit to colouring your whole head of hair. This should be done to a segment that can easily be hidden away if it doesn’t go as planned.
We know better than most how tempting it is to skip this step so you can get colouring. But, everyone’s hair is unique and will take to colours differently – you can’t just rely on photos of others who’ve used it before.
A strand test gives you the confidence that your colour will come through as vibrant and stunning as you hope.
TOP TIP - Before performing a strand test, we recommend carrying out a skin patch test. While a strand test gives you peace of mind on colour results and development, the skin patch test makes sure you don’t face any irritations and allergies from the colour before you apply it.
Your step-by-step guide to strand testing
Step 1. Wash the hair
Prepare your hair by washing it with a pre-colour shampoo to remove any unwanted products, ready for application. Rinse and towel dry.
Step 2. Choose your strand
Next, choose a strand of hair that’s at least an inch wide that will be treated to this sneak preview of your new colour. For the best results choose a discreet section that can be easily hidden.
Step 3. Apply your chosen colour to the strand
Separate your selected strand from the rest of your hair using a hair clip or something similar. Whatever your hair colour touches will be marked, so it’s important you keep the rest of your hair separate.
Coat the strand in your chosen colour. A good technique to keep it away from the rest of your hair while you wait for the colour to develop is wrapping it in tin foil – the added heat can also help it develop faster!
Step 4. Give the colour time to develop
Colour development takes around 15 minutes, depending on how porous your hair is. So set a timer, put the kettle on, and give it a chance to work its magic.
Step 5. Rinse and dry the strand
Rinse out the colour from your strand of hair until the water runs clear. Then blow dry it to examine the results.
Step 6. Assess your success
Finally, it’s time for the big verdict. If the strand test produces perfect results and you achieve the desired colour, then you have the green light to give the rest of your hair the same spectacular treatment!
Is the colour not what you expected?
This might mean you haven’t followed the instructions for the hair colour closely enough. Otherwise, you may want to consider another shade to achieve the colour you’re looking for.
Step 1. Choose a test area
Pick a suitable area on your body where the colour can sit for a while – this is typically either behind your ear or your inner elbow.
Step 2. Wash and dry the area
Make sure your skin is fresh and clean, so there’s no risk of any contaminants affecting your test.
Step 3. Apply colour to the area
Use a cotton bud to dab a small amount of hair colour to your chosen test area and smooth it out to the size of a small coin.
Step 4. Play the waiting game
Perform the patch test 48 hours prior to carrying out your strand test.
Step 5. Wash and dry again
After the test period is over, simply wash and dry the area again to remove any hint of the hair colour.
If you experience any itching, blistering, redness or swelling where you applied the hair colour, or you notice any kind of stinging or burning sensation, wash the colour off immediately and DO NOT apply the product to your hair.
However, if your skin patch test causes no negative reactions, then you’re all set to use Directions hair colour.
TOP TIP - Perform the skin patch test before you apply Directions hair colour, even if you’ve used the product before. It’s an unfortunate truth that we can develop new allergies at any stage of our lives, so it’s important to always be safe and never sorry.
La Riche Directions Hair Colour is a range of super bright, semi-permanent hair colours. With every single colour of the rainbow from pink, purple, blue, aqua, green, red plus more! This is not entirely true though - a rainbow, by definition, only has seven colours (Red, Orange, Yellow, Green, Blue, Indigo and Violet). But Directions Hair Colour has over 36 colours in their exotic collection!
Established in 1981 under the La Riche brand, Directions Hair Colour is endorsed by PETA and is the preferred brand of semi-permanent colour for thousands of alternative and pastel goth zealots around the world!
Some of Beserks range of colours include Dark Tulip, Fire, Flamingo Pink, Bright Daffodil, Alpine Green, Denim Blue, Plum, Wysteria, Rubine, Apricot, Cerise, Rubine, Tangerine, Mandarin, Lagoon Blue, Spring Green, Silver, and of course Ebony (for all you metalheads). Seriously you could go full rainbow unicorn with Directions. And you totally should!
What are Directions hair dyes, and how are they different from other hair colouring products?
Directions hair dyes are a brand of semi-permanent hair colour that are known for their bright and bold shades. They differ from other hair colouring products and Brands in several ways:
Semi-permanent: Directions hair dyes are semi-permanent, which means that they will gradually fade over time, rather than washing out in a single wash. This makes them a good choice for those who want to experiment with bright colours without committing to a long-term colour change!
No Nasties (Ammonia and Peroxide)!: Directions hair dyes do not contain any Ammonia or Peroxide, which are common chemicals found in Hair dyes. This makes Directions a gentler option for those who want to avoid harsh chemicals and hair damage!
Vegan and Cruelty-free: Directions hair dyes are Vegan and Cruelty-free, which means that they do not contain any animal products and aren’t tested on animals! This makes them a great choice for our Vegan friends and fellow Animal lovers!
Wide range of colours: Directions hair dyes come in a wide range of bright and bold colours, including neon shades, pastels, and metallics. This allows for a lot of creativity and experimentation when it comes to hair colour!
Overall, Directions hair dyes are a great choice for those who want to experiment with bold and bright hair colours without committing to a long-term change, and who are looking for a gentler, more ethical option when it comes to hair colouring products!
How long do Directions hair dyes typically last, and what can I do to make them last longer?
The longevity of Directions hair dyes can vary depending on several factors, such as the colour of the dye, the porosity of your hair, and how frequently you wash your hair. In general, semi-permanent hair dyes like Directions can last anywhere from a few weeks to several months.
To help your Directions hair dye last longer, here are some tips:
By following these tips, you can help your Directions hair dye last longer and maintain its vibrancy!
Can I use Directions hair dye on unbleached hair, or do I need to bleach it first?
Directions hair dye can be used on unbleached hair, but the final colour result may not be as vibrant or intense as it would be on bleached hair. This is because the natural colour of your hair will mix with the dye, creating a unique colour that may be different from the colour on the dye's packaging.
If you have dark hair and want to achieve a more vibrant colour, it is recommended to bleach your hair first. Bleaching will strip your hair of its natural colour, allowing the dye to fully saturate your hair and produce a more intense colour result.
If you have lighter hair, you may be able to achieve a vibrant colour result without bleaching. However, it's important to note that everyone's hair is different and may react differently to the dye. It's always suggested to do a strand test first to see how the colour will turn out on your hair! Overall, while you can use Directions hair dye on unbleached hair, bleaching will help achieve a more vibrant and intense colour result that you may be after.
What are some tips for achieving the best results with Directions hair dye, and are there any special considerations I should be aware of before using it?
Here are some tips for achieving the best results with Directions hair dye:
Pre-lighten your hair: For best results, your hair should be pre-lightened to a pale blonde shade before applying Directions hair dye. This will ensure that the colour shows up as vivid and bright as possible.
Apply to dry, clean hair: Make sure your hair is completely dry and free of any product buildup before applying the dye. This will help the colour to adhere evenly and last longer.
Use gloves: Directions hair dye can stain your skin, so be sure to wear gloves when applying the dye.
Apply evenly: Use a brush or your fingers to apply the dye evenly throughout your hair. Avoid applying too much dye to one section, as this can result in uneven colour.
Process time: The processing time can vary depending on the colour and the desired intensity, but it typically ranges from 15-30 minutes. Be sure to check the instructions/directions for your specific brand of dye and colour.
Rinse thoroughly: Once the processing time is up, rinse your hair thoroughly with cool water until the water runs clear. Do not use shampoo or conditioner!
Aftercare: To help your colour last as long as possible, avoid washing your hair for 24-48 hours after colouring. Use a Sulphate-free shampoo and conditioner, and avoid using heat styling tools as much as possible.
Allergic reactions: As with any hair dye, it's possible to have an allergic reaction to Directions hair dye. Perform a patch test before using it on your entire head.
CONTACT BESERK
Please contact us with any questions. We will reply asap!
La Riche Directions Hair Colour is a range of super bright, semi-permanent hair colours. With every single colour of the rainbow from pink, purple, blue, aqua, green, red plus more! This is not entirely true though - a rainbow, by definition, only has seven colours (Red, Orange, Yellow, Green, Blue, Indigo and Violet). But Directions Hair Colour has over 36 colours in their exotic collection!
Established in 1981 under the La Riche brand, Directions Hair Colour is endorsed by PETA and is the preferred brand of semi-permanent colour for thousands of alternative and pastel goth zealots around the world!
Some of Beserks range of colours include Dark Tulip, Fire, Flamingo Pink, Bright Daffodil, Alpine Green, Denim Blue, Plum, Wysteria, Rubine, Apricot, Cerise, Rubine, Tangerine, Mandarin, Lagoon Blue, Spring Green, Silver, and of course Ebony (for all you metalheads). Seriously you could go full rainbow unicorn with Directions. And you totally should!
What are Directions hair dyes, and how are they different from other hair colouring products?
Directions hair dyes are a brand of semi-permanent hair colour that are known for their bright and bold shades. They differ from other hair colouring products and Brands in several ways:
Semi-permanent: Directions hair dyes are semi-permanent, which means that they will gradually fade over time, rather than washing out in a single wash. This makes them a good choice for those who want to experiment with bright colours without committing to a long-term colour change!
No Nasties (Ammonia and Peroxide)!: Directions hair dyes do not contain any Ammonia or Peroxide, which are common chemicals found in Hair dyes. This makes Directions a gentler option for those who want to avoid harsh chemicals and hair damage!
Vegan and Cruelty-free: Directions hair dyes are Vegan and Cruelty-free, which means that they do not contain any animal products and aren’t tested on animals! This makes them a great choice for our Vegan friends and fellow Animal lovers!
Wide range of colours: Directions hair dyes come in a wide range of bright and bold colours, including neon shades, pastels, and metallics. This allows for a lot of creativity and experimentation when it comes to hair colour!
Overall, Directions hair dyes are a great choice for those who want to experiment with bold and bright hair colours without committing to a long-term change, and who are looking for a gentler, more ethical option when it comes to hair colouring products!
How long do Directions hair dyes typically last, and what can I do to make them last longer?
The longevity of Directions hair dyes can vary depending on several factors, such as the colour of the dye, the porosity of your hair, and how frequently you wash your hair. In general, semi-permanent hair dyes like Directions can last anywhere from a few weeks to several months.
To help your Directions hair dye last longer, here are some tips:
By following these tips, you can help your Directions hair dye last longer and maintain its vibrancy!
Can I use Directions hair dye on unbleached hair, or do I need to bleach it first?
Directions hair dye can be used on unbleached hair, but the final colour result may not be as vibrant or intense as it would be on bleached hair. This is because the natural colour of your hair will mix with the dye, creating a unique colour that may be different from the colour on the dye's packaging.
If you have dark hair and want to achieve a more vibrant colour, it is recommended to bleach your hair first. Bleaching will strip your hair of its natural colour, allowing the dye to fully saturate your hair and produce a more intense colour result.
If you have lighter hair, you may be able to achieve a vibrant colour result without bleaching. However, it's important to note that everyone's hair is different and may react differently to the dye. It's always suggested to do a strand test first to see how the colour will turn out on your hair! Overall, while you can use Directions hair dye on unbleached hair, bleaching will help achieve a more vibrant and intense colour result that you may be after.
What are some tips for achieving the best results with Directions hair dye, and are there any special considerations I should be aware of before using it?
Here are some tips for achieving the best results with Directions hair dye:
Pre-lighten your hair: For best results, your hair should be pre-lightened to a pale blonde shade before applying Directions hair dye. This will ensure that the colour shows up as vivid and bright as possible.
Apply to dry, clean hair: Make sure your hair is completely dry and free of any product buildup before applying the dye. This will help the colour to adhere evenly and last longer.
Use gloves: Directions hair dye can stain your skin, so be sure to wear gloves when applying the dye.
Apply evenly: Use a brush or your fingers to apply the dye evenly throughout your hair. Avoid applying too much dye to one section, as this can result in uneven colour.
Process time: The processing time can vary depending on the colour and the desired intensity, but it typically ranges from 15-30 minutes. Be sure to check the instructions/directions for your specific brand of dye and colour.
Rinse thoroughly: Once the processing time is up, rinse your hair thoroughly with cool water until the water runs clear. Do not use shampoo or conditioner!
Aftercare: To help your colour last as long as possible, avoid washing your hair for 24-48 hours after colouring. Use a Sulphate-free shampoo and conditioner, and avoid using heat styling tools as much as possible.
Allergic reactions: As with any hair dye, it's possible to have an allergic reaction to Directions hair dye. Perform a patch test before using it on your entire head.
Directions hair dyes are a brand of semi-permanent hair colour that are known for their bright and bold shades. They differ from other hair colouring products and Brands in several ways:
Semi-permanent: Directions hair dyes are semi-permanent, which means that they will gradually fade over time, rather than washing out in a single wash. This makes them a good choice for those who want to experiment with bright colours without committing to a long-term colour change!
No Nasties (Ammonia and Peroxide)!: Directions hair dyes do not contain any Ammonia or Peroxide, which are common chemicals found in Hair dyes. This makes Directions a gentler option for those who want to avoid harsh chemicals and hair damage!
Vegan and Cruelty-free: Directions hair dyes are Vegan and Cruelty-free, which means that they do not contain any animal products and aren’t tested on animals! This makes them a great choice for our Vegan friends and fellow Animal lovers!
Wide range of colours: Directions hair dyes come in a wide range of bright and bold colours, including neon shades, pastels, and metallics. This allows for a lot of creativity and experimentation when it comes to hair colour!
Overall, Directions hair dyes are a great choice for those who want to experiment with bold and bright hair colours without committing to a long-term change, and who are looking for a gentler, more ethical option when it comes to hair colouring products!
What you need to colour like a pro
-Your chosen tub of hair colour
-Mixing bowl
-Tint brush
-Mirror(s)
-Hairdresser's cape, towels or newspaper - basically anything that will prevent hair colour getting on your clothes, mats or carpet!
-Latex gloves
-Vaseline or petroleum jelly
-pH balanced, colour-friendly shampoo and conditioner
-Hair clips or bands to separate your hair
-Disposable shower cap
-Clock, stopwatch or phone - anything that can keep the time for you!
TOP TIP - If you’re making a major colour change (e.g. from black to platinum blonde), this is often best-placed to be done by a professional colourist, who knows inside-out how to go from one tone to another and minimise any damage done to your hair.
Step 1. Wash your hair
Make sure to wash your hair with a pH balanced Pre Colour Shampoo prior to colouring your hair to leave it in the best condition to take on your colour of choice. Simply then leave towel dried, so that it is still damp.
Please note: Make sure to avoid using conditioner before application – conditioner eliminates natural oils that help the colour bind to your hair more easily.
Step 2. Protect yourself and your stuff
Now it’s time to keep you, your clothes, your carpets and your belongings covered as best you can. While our colour’s long-lasting nature is great for your hair, it’s not so great when you’re trying to scrub it off the floor!
Wear a set of old clothes to be safe, and then cover yourself with a hairdresser’s cape, towel or bathrobe. Lay down some old towels, newspaper or similar on the floor as well to catch any spillages. Put on a set of disposable gloves to make sure the colour can’t stain your fingers.
Step 3. Follow the instructions!
We know you can't wait to get colouring, but always read the instructions that come with your chosen hair colour — even if you’ve used Directions before.
Step 4 . Do a strand test
By applying the hair colour initially to a small section of easily hideable hair, you can confirm that the colour comes out as you expected, or if you need to apply it for a longer or shorter period of time to get the colour you crave.
To find out how to avoid a hair-raising mishap, check out our guide to the perfect strand test below.
Step 5. Separate your hair
To help make sure you don’t have to reach for the scissors or make an emergency salon appointment, separate your damp hair into at least four sections using hair clips or bands. This exposes all your hair to the colour, giving you complete coverage.
There are few things more infuriating than revealing your freshly-coloured hairstyle and seeing a patch of untouched hair staring back at you in the mirror.
Step 6. Apply the colour
Use a tint brush to comb the colour into the various sections of hair, applying it to ¼ – ½ inch at a time for total coverage.
Start at the roots, as this is where your hair will grow back from and the area that needs the most processing time. From there use your brush to spread the colour across your hair, making sure that no solitary strand is missed.
Use your brush rather than straight from the tub to ensure an even coverage.
Step 7. Let the colour do its thing
Time to play the waiting game. Your strand test will give you an idea of how long it takes for your colour to develop, Directions hair colour usually takes between 15 and 30 minutes.
Step 8. Rinse thoroughly
Use warm water to rinse the colour out of your hair. It’s important to rinse away from your face and body, rather than just hop into the shower – rainbow skin is not a popular trend.
Step 9. Dry and style
Style it as you wish to really make the colour pop how you want it to, however please note that using heat on your hair will affect the longevity of Directions.
Step 10 . Voila, you’re ready to glow!
Congrats on your fabulous colour job – we knew you had it in you!
TOP TIP - Depending on the tone of your natural hair colour, this might restrict how effectively certain colours come through once they are applied. It might be worth looking into our hair lightening products before you start to give your new colour the perfect platform to shine.
What is the point of a strand test?
A strand test is when you test out your hair colour on a small section of your hair before you commit to colouring your whole head of hair. This should be done to a segment that can easily be hidden away if it doesn’t go as planned.
We know better than most how tempting it is to skip this step so you can get colouring. But, everyone’s hair is unique and will take to colours differently – you can’t just rely on photos of others who’ve used it before.
A strand test gives you the confidence that your colour will come through as vibrant and stunning as you hope.
TOP TIP - Before performing a strand test, we recommend carrying out a skin patch test. While a strand test gives you peace of mind on colour results and development, the skin patch test makes sure you don’t face any irritations and allergies from the colour before you apply it.
Your step-by-step guide to strand testing
Step 1. Wash the hair
Prepare your hair by washing it with a pre-colour shampoo to remove any unwanted products, ready for application. Rinse and towel dry.
Step 2. Choose your strand
Next, choose a strand of hair that’s at least an inch wide that will be treated to this sneak preview of your new colour. For the best results choose a discreet section that can be easily hidden.
Step 3. Apply your chosen colour to the strand
Separate your selected strand from the rest of your hair using a hair clip or something similar. Whatever your hair colour touches will be marked, so it’s important you keep the rest of your hair separate.
Coat the strand in your chosen colour. A good technique to keep it away from the rest of your hair while you wait for the colour to develop is wrapping it in tin foil – the added heat can also help it develop faster!
Step 4. Give the colour time to develop
Colour development takes around 15 minutes, depending on how porous your hair is. So set a timer, put the kettle on, and give it a chance to work its magic.
Step 5. Rinse and dry the strand
Rinse out the colour from your strand of hair until the water runs clear. Then blow dry it to examine the results.
Step 6. Assess your success
Finally, it’s time for the big verdict. If the strand test produces perfect results and you achieve the desired colour, then you have the green light to give the rest of your hair the same spectacular treatment!
Is the colour not what you expected?
This might mean you haven’t followed the instructions for the hair colour closely enough. Otherwise, you may want to consider another shade to achieve the colour you’re looking for.
Step 1. Choose a test area
Pick a suitable area on your body where the colour can sit for a while – this is typically either behind your ear or your inner elbow.
Step 2. Wash and dry the area
Make sure your skin is fresh and clean, so there’s no risk of any contaminants affecting your test.
Step 3. Apply colour to the area
Use a cotton bud to dab a small amount of hair colour to your chosen test area and smooth it out to the size of a small coin.
Step 4. Play the waiting game
Perform the patch test 48 hours prior to carrying out your strand test.
Step 5. Wash and dry again
After the test period is over, simply wash and dry the area again to remove any hint of the hair colour.
If you experience any itching, blistering, redness or swelling where you applied the hair colour, or you notice any kind of stinging or burning sensation, wash the colour off immediately and DO NOT apply the product to your hair.
However, if your skin patch test causes no negative reactions, then you’re all set to use Directions hair colour.
TOP TIP - Perform the skin patch test before you apply Directions hair colour, even if you’ve used the product before. It’s an unfortunate truth that we can develop new allergies at any stage of our lives, so it’s important to always be safe and never sorry.